Departments – OP-Code tab
Appointments made through
Note: It is recommended that you assign OP codes only once all your departments, teams and employees have been set up.
Note that OP codes cannot be assigned to the Main department as it is the default for appointment routing. An appointment is routed to the Main department, by default if it contains either:
- Services with OP codes that do not belong to the same department
or - Services that are not assigned to any department
Note: The OP-Code tab does not appear when the Main department is selected.
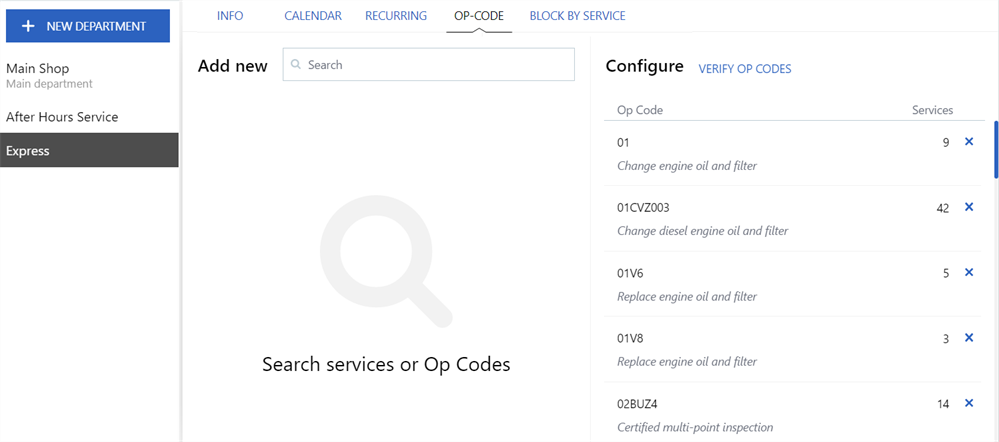
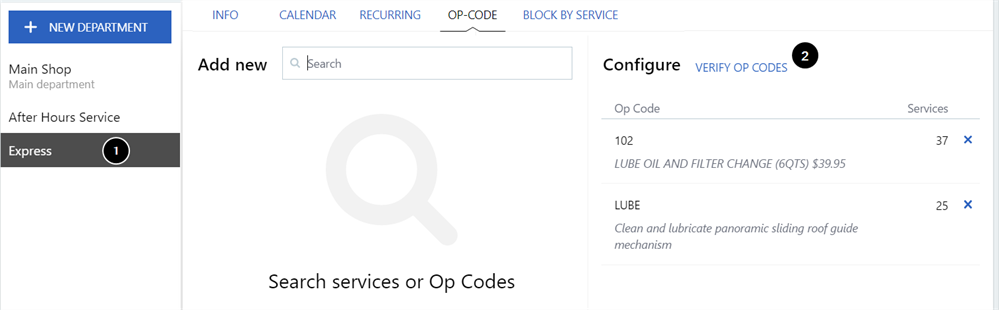
Start by setting up the OP code assignments for the department selected on the left.
On the OP-Code sub-tab:
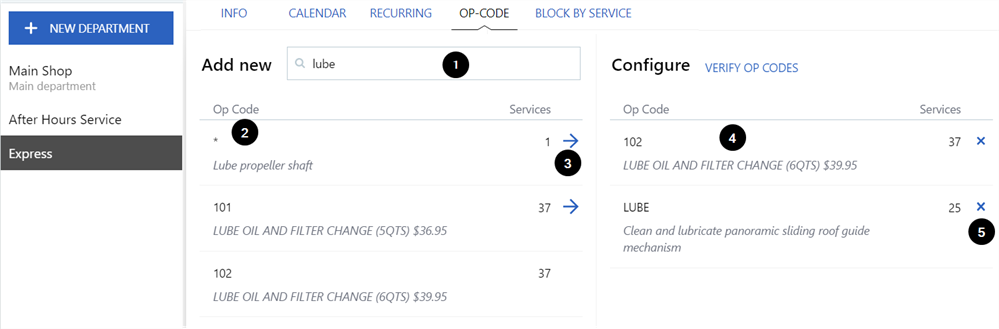
- Use the search field to search by OP code or service name. Press ‘Enter’, or wait three seconds for the application to automatically perform the search. The example above is a search for 'lube'.
- Matching OP codes are listed along with the number of services each is linked to.
- Click
 to add an OP code to the department.
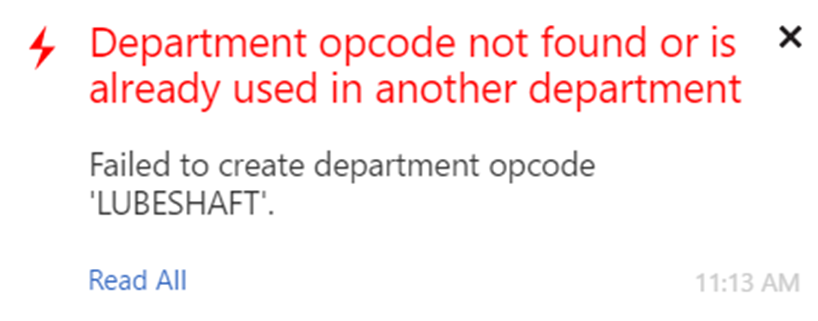
 - If the OP code has already been assigned to a department, an error message is displayed:
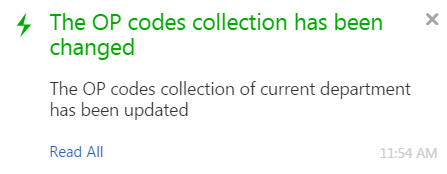
- If the OP code is accepted, a notification appears confirming the update:
- The OP codes that have been added to the selected department are listed on the right.
- To remove an OP code from the selected department, click the ‘x’ beside it.
After assigning OP codes to each department, you should verify that they are correct. It is strongly recommended that this feature be used to ensure that appointments created using the
Note: It is recommended that you complete all your OP code assignments for all departments first, then go back, department by department, and perform this verify step.
Starting from the OP-Code sub-tab:
- Select the department on the left, for which OP code assignments are to be verified.
- Click "Verify OP Codes" to go to the Verify OP Codes page for the department. (Note that the button does not appear for the Main department)
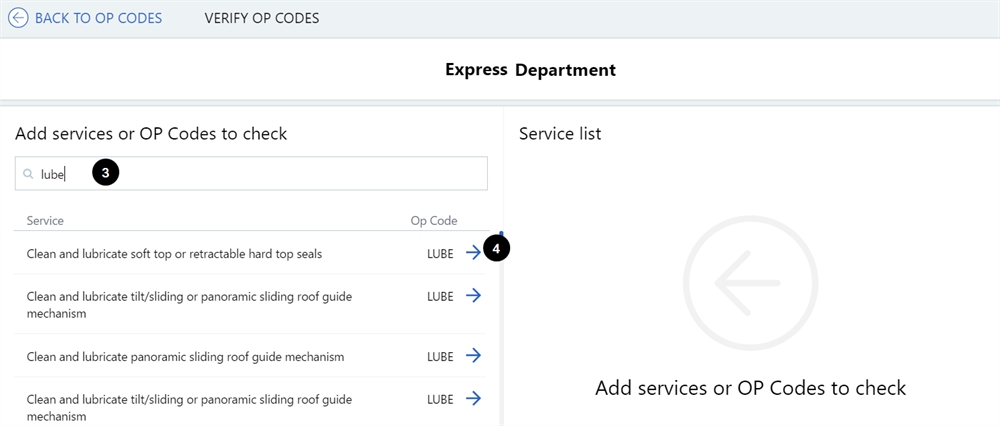
- Search for services to verify by entering all or part of an OP code or service name in the search field. Matching services are listed on the left, along with their OP code.
- To select the services to verify, click
 beside each OP code to add it to the Service list on the right side of the page. This is the list of services that you want to verify.
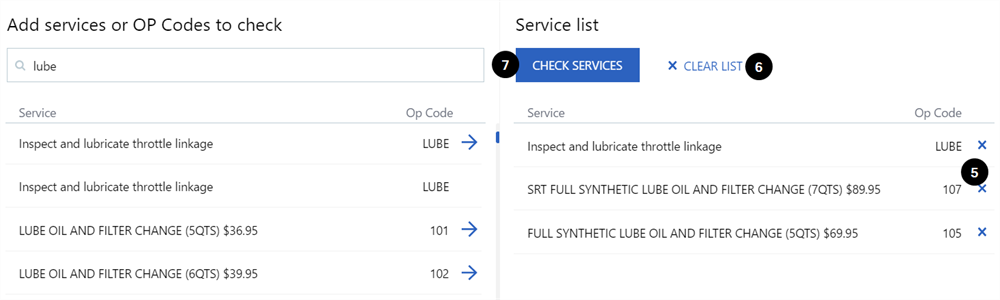
When you have added services to the Service list:
- Click
 beside a selected OP code to remove it from the list.
 - Click “Clear List” at any time to clear the Service list.
- Click “Check Services” to verify the list.
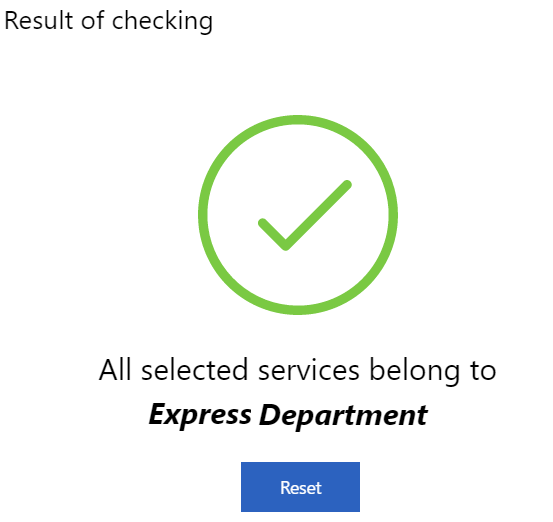
If all OP codes in the Service list are verified as being assigned to the selected department, a confirmation message appears:
However, in the following example, there were two exceptions:
- One OP code '107' was already assigned to another department (‘Detail’).
- One OP code ('105') wasn’t assigned to any department so it was assigned to the Main department by default.
Messages appear as shown below:
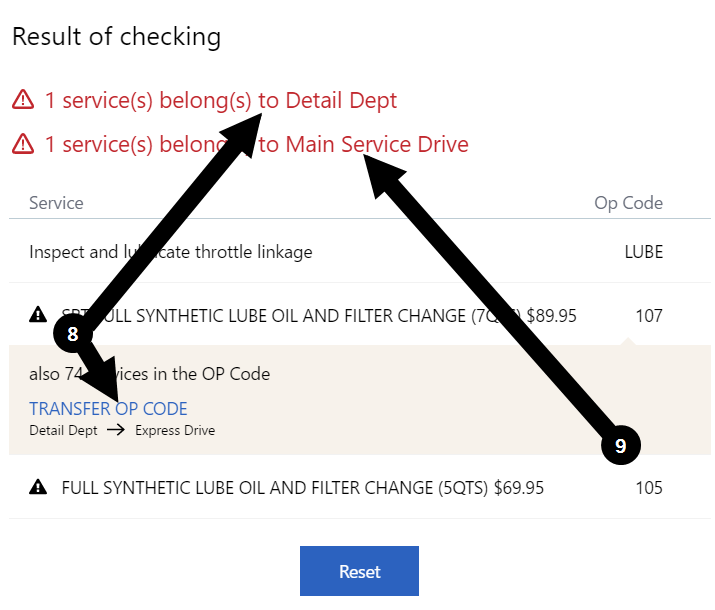
- For services that are assigned to a department other than the department in view, the warning message (
 ) indicates which department. The OP codes are flagged (
  ) in the Service list and a “Transfer OP Code" button appears below each OP code. Click it to transfer the services to the department in view.
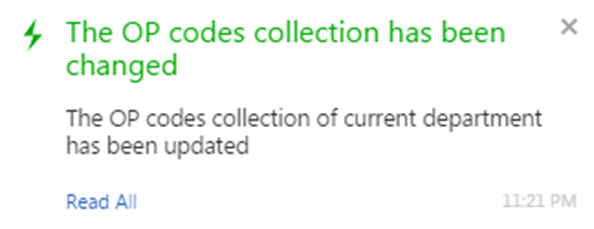
Once an OP code has been transferred, the following message appears:
- For services that do not belong to any department, the warning message () states that they belong to the Main department. The OP code is flagged ( ) in the Service list. Note that no “Transfer OP Code” button appears, so to add these OP codes to the department in view:
- Click “Back to OP Codes” to return to the OP-Code tab.
- Search for the OP code.
- Assign the OP code to the department.
At any time, click "Reset" to clear the Service list and start a new list for verification.
Repeat this step for each department with OP codes assigned.